Six degrees of inspiration
Your inspiration is the frame of reference with which you look at the world. It informs the choices you make and the methods you use as a designer.
The first (and the shortest) part of the exercise focuses on gathering content for the second part of the project. But more than just gathering, this first moment will also be when you reflect on your choices, analyse the content and relate each part to the previous and following. Needless to say, even if short, this is one of the most important parts of the exercise.
How to distill or transform your inspiration into a workable idea (or set of ideas) to use in graphic design?
Think of one thing that is inspiring to you. It can be anything; a person (an artist, a writer, a philosopher, a politician, a scientist, an activist, your best friend, a fictional character); an artefact (a work of art, a lamp, a music video, a story); a natural element (a colour, a plant, a landscape, a star, an animal)
Use six steps to translate it to a workable idea to use in graphic design*. In learning about properties of, and stories behind your chosen starting point, you will discover another person, process, artefact that is also inspiring! This is the first degree of inspiration. Write a (short) paragraph about your choice and the connection with the previous/next step.
Continue serendipitously along this path, find the facts and stories that connect one step to the next one. To gather more knowledge and information over and around your starting point you can follow two methods: You can choose to zoom in, by learning more about your starting point, gathering more information layer by layer — a vertical way of exploring. Or you can zoom out, gathering information on things and fields related to your starting point — a horizontal exploration.
Gather as much relevant information (visual as well as written) as possible in each step. Every step must be recorded, in a form you find suitable: a tumblr, a process book, a box with physical objects, etc. Try are.na! This exercise is about research, process and building a library of references that feed your work as a designer.
Presentation: 5 March
References.
- Matters of Speech, Experimental Jetset
- Lecture at Walker Art Centre, Experimental Jetset
- The Warburg Library, Rebecca Bligh
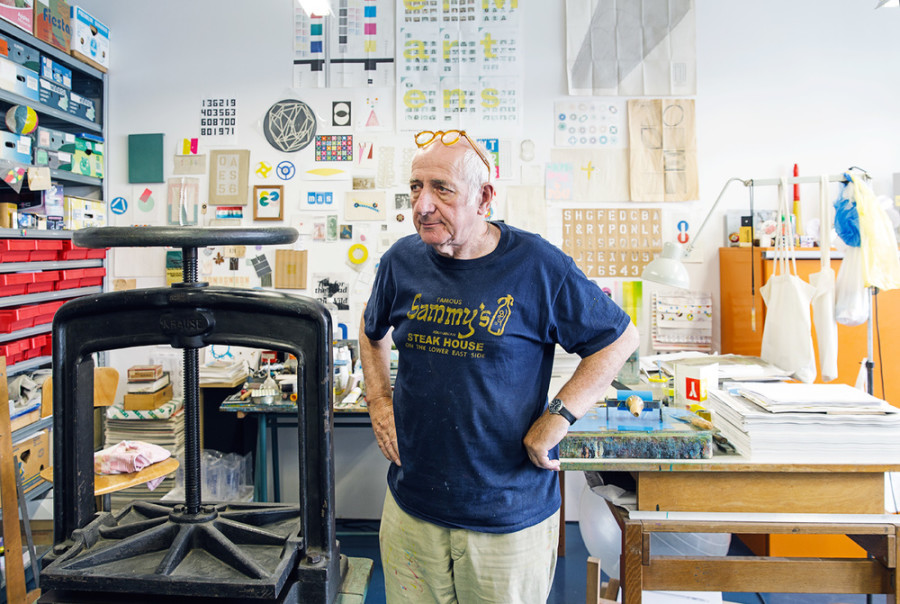
- Karel Martens’ studio
- Cabinet of curiosities
* Ideas and concepts you can work with to design the publication and installation in the second part of the assignment.
Part two: processing, editing, presenting.
The role of a designer is not only to familiarise themselves with new content and information (research), but most importantly to find ways to translate this information into understandable (visual) language.
This starts with processing what you have found out, and distilling the most important points into something that your viewer/reader can understand. If you can’t explain it, you don’t understand it well enough.
To communicate clearly, you also need to hierarchise the information into what is important and what isn’t, into what is integral to a story and what is a possible distraction. That process is called editing.
Finally, you need to present your “story” in a way that appeals, draws in, sustains interest and makes it easy to take in the information.
So here’s what you have to do:
1. Design and produce an installation about your frame of reference, with the material you gathered and distilled in the first part of the exercise.
2. Design and produce a publication about your frame of reference, based on the same material.
Some kinds of information are better suited for one medium than for the other. The exhibition and publication do not each need to contain all the content, they only need to contain it together. However, a viewer/reader must get a well-rounded idea and coherent experience from viewing just one of the two — the story does not need to be complete, but it needs to make complete sense.
1 A wall display, objects on a table/vitrine, a sculpture, a multimedia display, a specially designed and produced object, a fashion collection, a performance, etc.
2 A pocket book, a catalogue, a dictionary, a newspaper, a zine, etc.
References
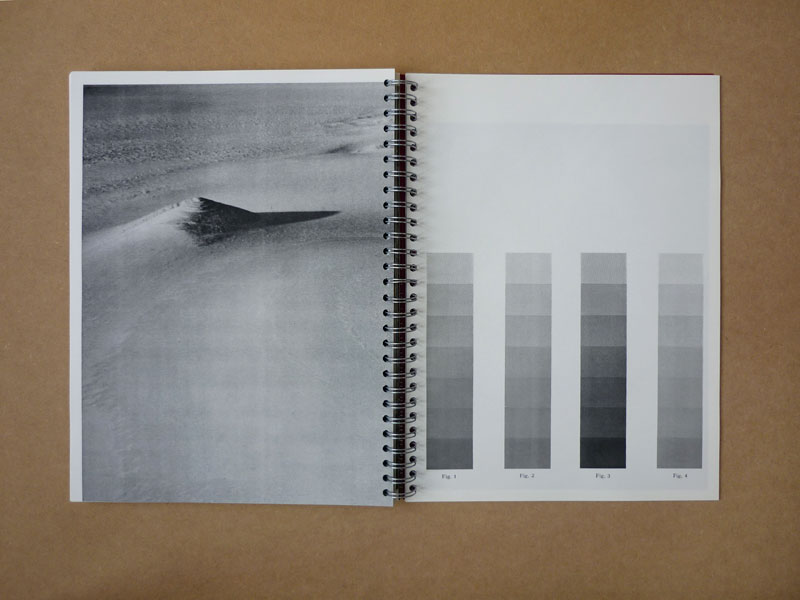
- Surface Series, Batia Sutter
- Mnemosyne Atlas, Aby Warburg (image search)
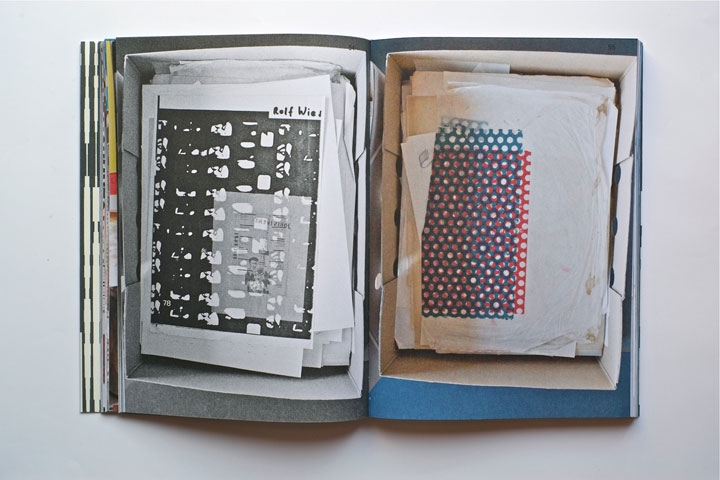
- Roma Publication 199, Karel Martens
- Set, exhibition by Na Kim
- Set, publication by Na Kim
Schedule
- 13 February: Exercise launch.
- 20 February: Bookbinding workshop. Delivery of first degree of inspiration.
- 13 February — 5 March: development of research, your six steps. Collect image material and text for each step. Write one or two paragraphs connecting each step. This will be presented in class in groups of three.
Decide on the type of publication you want to work on and bring two to three examples to the next class. Same applies for the installation. - 5 March: Presentation of 6 layers of research (groups of three: max. 5 minutes per student to present research and the examples of publication and installation you chose). Sketching in class.
EXTRAS Lunch: Presentations by students from last year. Lecture: sketch translation and methodology.
Homework: Sketch, sketch, sketch. First mock-ups and maquette of installation.
Type of installation and publication. Scale and formats. Relationship between the two parts of the project.
- 12 March: Individual talks: Presentation of sketches, maquette and mock-ups for installation.
EXTRAS Lecture: How to choose a typeface?
Homework: Structure and print all content to use in publication. First sketches for publication (analogue: use collage): Sketch 3 sample spreads (eg. main content: text-heavy spread, image-heavy spread; table of contents; index; title page) - 19 March: Individual talks + post-it feedback in groups of three: Analogue sketches for publication.
EXTRAS Lecture: Anatomy of the book.
Homework: Develop installation and publication.
Translate analogue sketches to digital sketches.
Real size tests for the installation. - 26 March: Small groups: Presentation of second sketches for installation and publication.
EXTRAS: workshop on typesetting (setting text).
Homework: Development of sketches. Fine-tune digital sketches (after typesetting workshop) and start expanding the layout (more pages). Test the layout broadly. Test materials, binding and production (print).
- 2 April: Mid-terms. <3
Homework: Development of installation.
Initiate finalisation of materials/objects & others, to use in installation. - 9 April: Final tests and production for the installation.
Homework: Finish installation. - 16 April: Final tests and production for the publication.
Homework: Finish publication. - 23 April: Collective presentation (morning).
Collective assembly for “Learning together” (afternoon).
Assessment Criteria
Approach to the assignment; the overarching idea for the project; depth of research; image and text editing; formal and conceptual translation of idea; formal and editing decisions; typography; choice of materials; creativity; planning; execution/implementation; attendance; presentation.